This is a complete step-by-step guide to connecting WordPress, the Model Context Protocol (MCP), and Claude (or Cursor / VS Code). By the end you will understand how the connection works, how to set it up on a local or remote site, how to run your first AI tool call, and how to keep the integration secure.
Focus keyword: WordPress MCP Claude setup
Official docs: WordPress MCP Adapter · GitHub repo · MCP specification · Abilities API
Watch the short overview
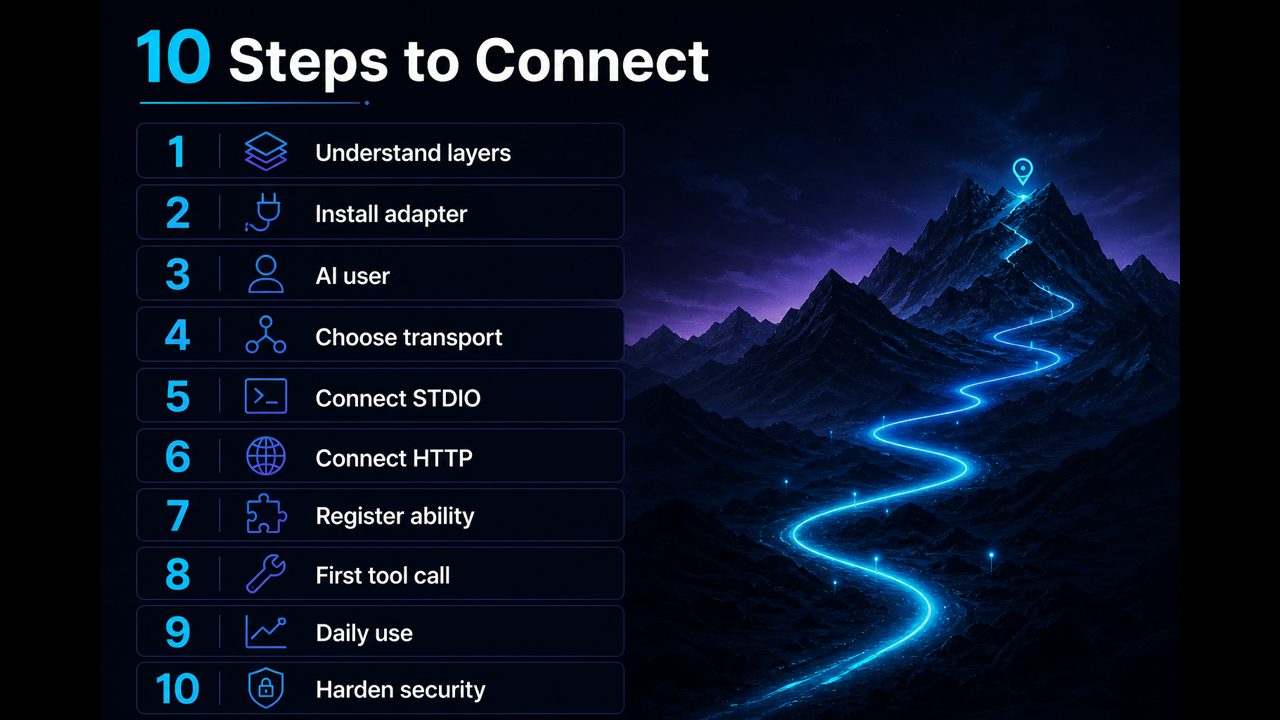
A short visual walkthrough of WordPress → MCP → Claude, the connection flow, security basics, and the 10 setup steps.
Visual guide
What you will build
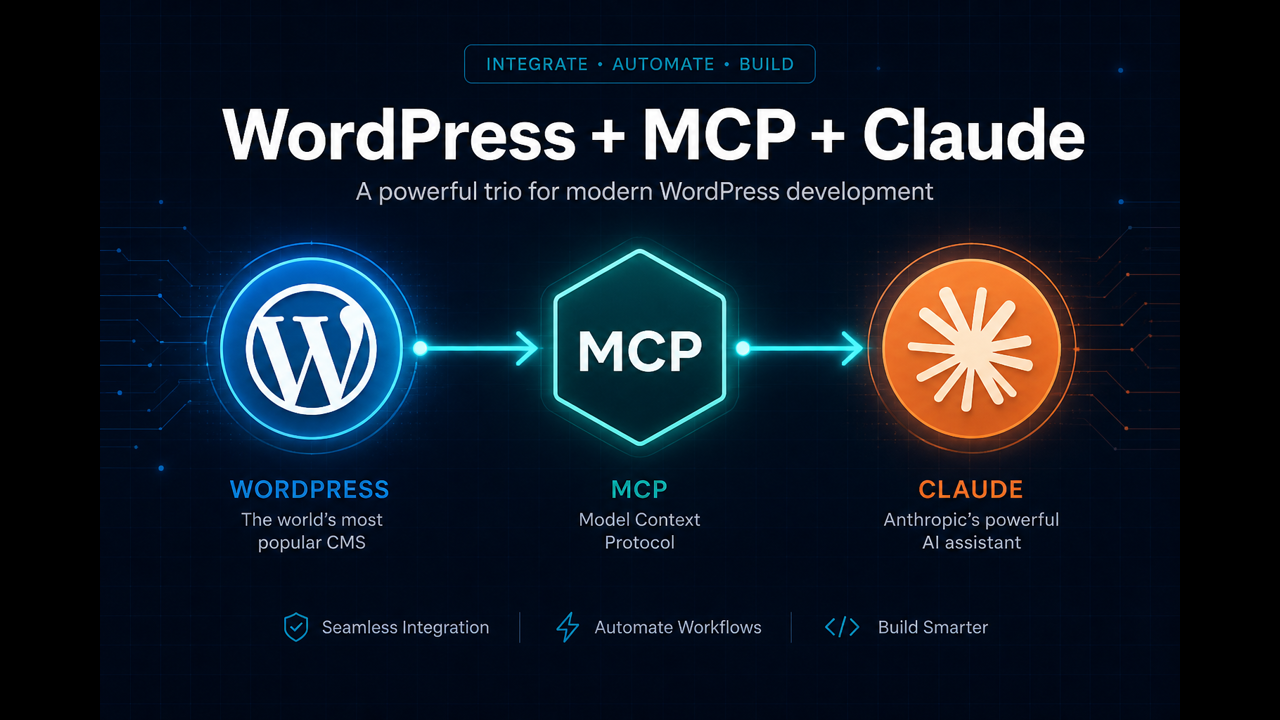
A working loop that looks like this:
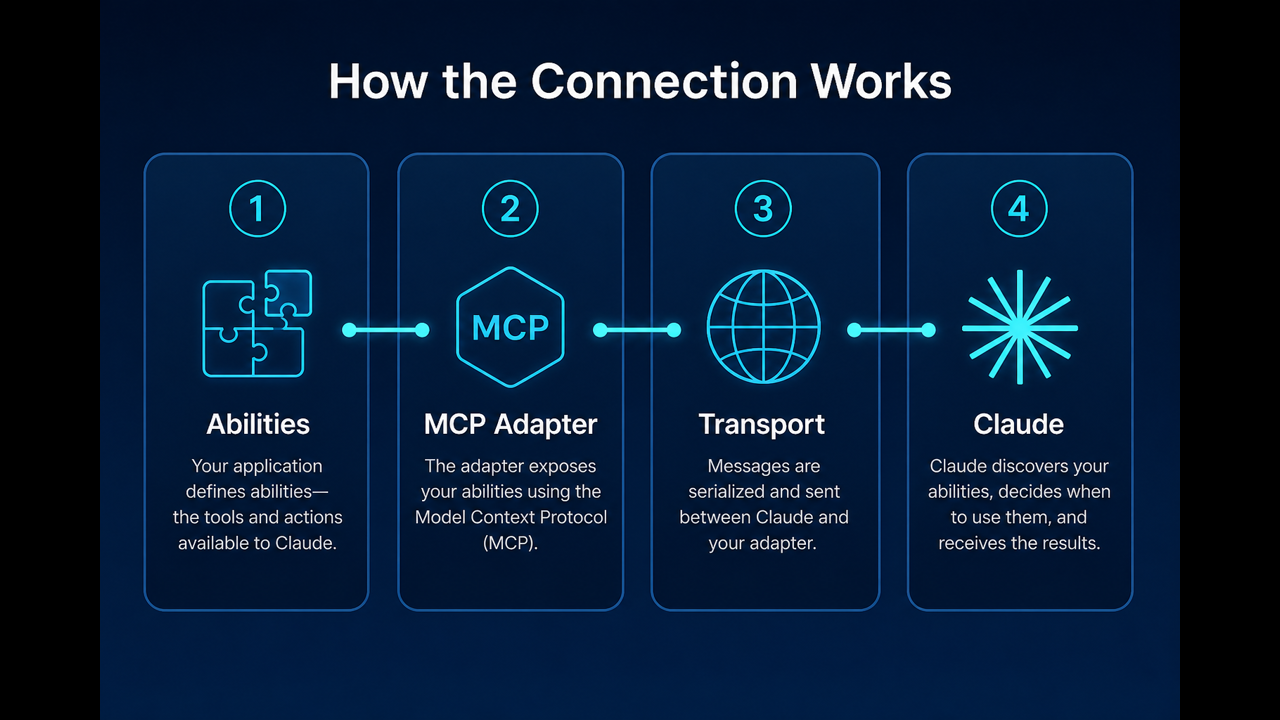
- WordPress registers abilities (safe, permission-checked actions).
- The MCP Adapter exposes those abilities to AI clients as MCP tools/resources.
- Claude connects over STDIO or HTTP, discovers tools, and calls them.
- WordPress authenticates the request, checks capabilities, runs the ability, and returns data.
- Claude uses the result to help you build themes, plugins, debug issues, or automate tasks.
Prerequisites checklist
Before you start, confirm:
- WordPress 6.9 or newer (Abilities API is in core)
- PHP 7.4+
- WP-CLI installed (recommended for local STDIO setup)
- Node.js / npm available if you use the HTTP proxy package
- A staging or local site (do not start on production)
- Claude Desktop, Claude Code, Cursor, or another MCP-compatible client
Step 1 — Understand the three layers
1.1 WordPress (CMS + abilities)
WordPress remains the source of truth for content, users, capabilities, themes, and plugins. Anything the AI can do must ultimately be allowed by WordPress permissions.
1.2 MCP (the bridge protocol)
MCP is an open protocol that standardises how AI clients discover:
- Tools — actions the AI can execute
- Resources — readable data/context
- Prompts — structured templates
1.3 Claude (the AI client)
Claude (or Cursor) is the assistant UI. It does not “own” your site. It connects to your MCP server, asks what tools exist, and calls them when helpful.
Step 2 — Install the WordPress MCP Adapter
2.1 Download and activate
Install the official adapter like any plugin:
- Download the latest
mcp-adapter.zipfrom the GitHub Releases page. - In WordPress go to Plugins → Add New → Upload Plugin.
- Upload the ZIP and click Activate.
Or with WP-CLI:
wp plugin install https://github.com/WordPress/mcp-adapter/releases/latest/download/mcp-adapter.zip --activate2.2 Confirm the default MCP server exists
After activation, the adapter creates a default server. The HTTP route is typically:
/wp-json/mcp/mcp-adapter-default-serverList servers with WP-CLI:
wp mcp-adapter listStep 3 — Create a dedicated AI user (security first)
Do this before connecting Claude.
- Go to Users → Add New.
- Create a user such as
ai-editororai-reader. - Give it the minimum role needed (Editor for content work, or a custom role with fewer caps).
- Avoid using your personal Administrator account for day-to-day AI access.
- Open the user profile and create an Application Password (needed for HTTP connections).
- Store the application password in your local env config — never commit it to Git.
Why: MCP clients act as logged-in WordPress users. If that user is over-privileged, a bad prompt can request powerful actions.
Step 4 — Choose a transport (how Claude connects)
Pick one path:
- Path A — STDIO (best for local WAMP / Docker / Valet)
- Path B — HTTP + proxy (best when the site is reachable by URL)
Step 5A — Connect Claude with STDIO (local)
5A.1 Test the server from the terminal
From your WordPress root:
# List available tools
echo '{"jsonrpc":"2.0","id":1,"method":"tools/list","params":{}}' | wp mcp-adapter serve --user=ai-editor --server=mcp-adapter-default-server

# Discover WordPress abilities
echo '{"jsonrpc":"2.0","id":1,"method":"tools/call","params":{"name":"mcp-adapter-discover-abilities","arguments":{}}}' | wp mcp-adapter serve --user=ai-editor --server=mcp-adapter-default-server
5A.2 Add the server to your MCP client config
Example Claude Desktop / MCP config:
{
  "mcpServers": {
    "wordpress-default": {
      "command": "wp",
      "args": [
        "--path=C:/wamp64/www/imtiyaj-prof",
        "mcp-adapter",
        "serve",
        "--server=mcp-adapter-default-server",
        "--user=ai-editor"
      ]
    }
  }
}
Replace the --path value with your real WordPress absolute path.
5A.3 Restart the client and verify
- Save the config.
- Fully restart Claude Desktop / Cursor.
- Open a new chat and confirm the WordPress MCP server shows as connected.
- Ask: “List the WordPress MCP tools available to you.”
Step 5B — Connect Claude with HTTP (remote or local URL)
5B.1 Confirm the REST endpoint
Open (while logged in / authenticated as needed):
https://your-site.example/wp-json/mcp/mcp-adapter-default-serverUse HTTPS in production. Never put application passwords in the URL query string.
5B.2 Configure the Automattic WordPress remote proxy
This local proxy converts STDIO MCP traffic into authenticated WordPress REST calls:
{
  "mcpServers": {
    "wordpress-http-default": {
      "command": "npx",
      "args": ["-y", "@automattic/mcp-wordpress-remote@latest"],
      "env": {
        "WP_API_URL": "https://your-site.example/wp-json/mcp/mcp-adapter-default-server",
        "WP_API_USERNAME": "ai-editor",
        "WP_API_PASSWORD": "xxxx xxxx xxxx xxxx xxxx xxxx",
        "LOG_FILE": "C:/logs/mcp-adapter.log"
      }
    }
  }
}
5B.3 Restart and test
- Restart the MCP client.
- Ask Claude to discover abilities.
- If you get 401/403, check username, application password, HTTPS, and security-plugin allow lists for
/wp-json/mcp/.
Step 6 — Register a simple WordPress ability (optional but powerful)
Abilities are the actions WordPress can safely expose. Example: return recent posts.
add_action( 'wp_abilities_api_init', function () {
	wp_register_ability(
		'my-plugin/get-posts',
		array(
			'label'       => 'Get Posts',
			'description' => 'Retrieve WordPress posts with optional filtering',
			'category'    => 'site',
			'input_schema' => array(
				'type'       => 'object',
				'properties' => array(
					'numberposts' => array(
						'type'        => 'integer',
						'description' => 'Number of posts to retrieve',
						'default'     => 5,
						'minimum'     => 1,
						'maximum'     => 100,
					),
				),
			),
			'execute_callback' => function ( $input ) {
				return get_posts(
					array(
						'numberposts' => $input['numberposts'] ?? 5,
						'post_status' => 'publish',
					)
				);
			},
			'permission_callback' => function () {
				return current_user_can( 'read' );
			},
			'meta' => array(
				'public' => true, // discoverable by the default MCP server
			),
		)
	);
} );
On the default server, public abilities are usually reached through adapter tools such as discover-abilities, get-ability-info, and execute-ability.
Step 7 — Run your first end-to-end workflow
- Open Claude / Cursor with the WordPress MCP server connected.
- Ask: “Discover available WordPress abilities.”
- Ask: “Get info for ability
my-plugin/get-posts.” - Ask: “Execute
my-plugin/get-postswith numberposts=3.” - Confirm the response matches what you see in WP Admin → Posts.
- Only after read-only checks pass should you expose write abilities (create draft, update post, etc.).
Step 8 — What you can do day to day
- Theme development — generate supports, templates, and components with live site context
- Plugin development — scaffold structure and abilities Claude can call later
- Debugging — inspect real data/errors instead of guessing from screenshots
- REST / integrations — explore and wire external systems
- Codebase understanding — explain complex theme/plugin behaviour
- Components — blocks, widgets, template parts
- Faster error resolution — AI-assisted fixes with permission-aware tool calls
- Automation — repeatable checks and content operations
- Smarter workflow — keep the AI beside your editor while WordPress stays authoritative
Step 9 — Security hardening (do not skip)
9.1 Two security layers
- Transport permissions — who can reach the MCP server
- Ability permissions — who can run each tool via
permission_callback
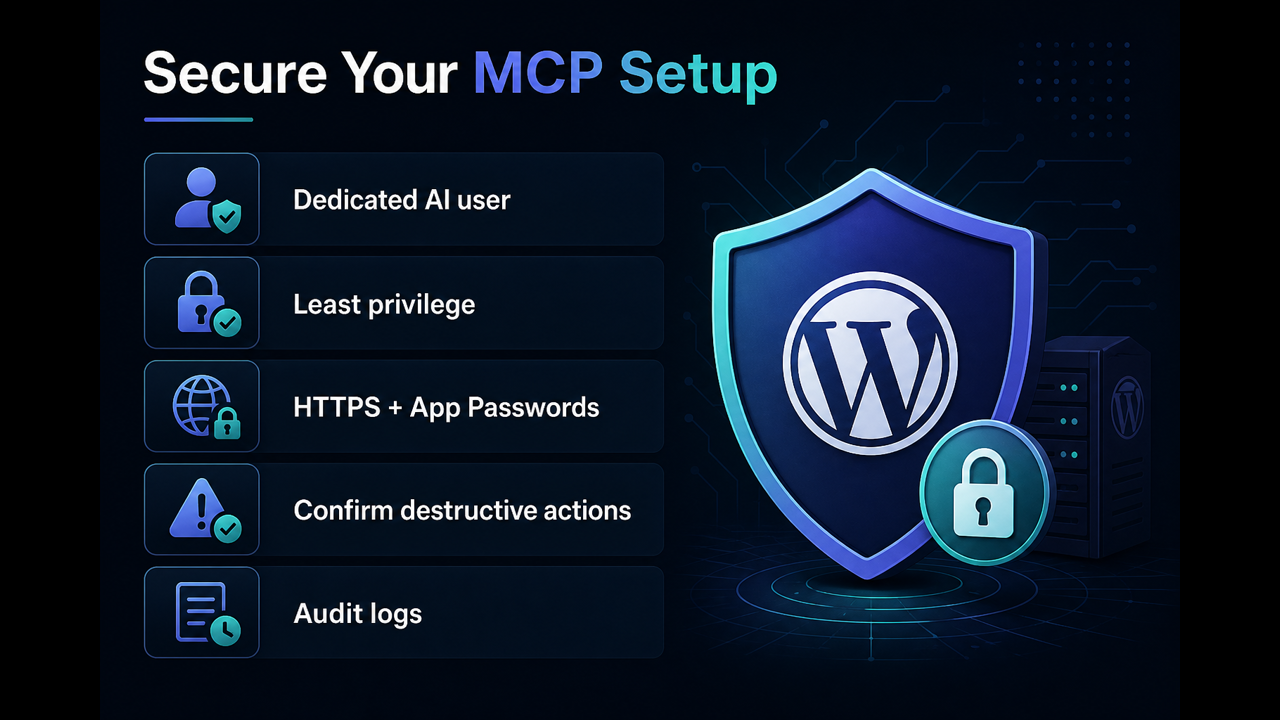
9.2 Least privilege
- Dedicated AI user
- Minimum capabilities only
- No blanket
manage_optionsfor routine chat work
9.3 Protect credentials and endpoints
- HTTPS only for remote HTTP
- Application passwords in env vars / local config only
- Never put tokens in query strings (they leak into logs and history)
- Rotate passwords if a laptop is lost or a log is shared
9.4 Limit public abilities
- Mark only safe abilities as public
- Prefer read-only tools on internet-exposed servers
- Require human confirmation for delete / publish / settings changes
9.5 Defend against prompt injection
Because MCP tools can take real actions, malicious text inside posts, tickets, or remote docs can try to push unsafe tool calls. Mitigate by confirming destructive actions, logging every tool call, and reviewing installed MCP servers regularly.
9.6 Staging before production
- Test with your real plugin set
- Allow-list
/wp-json/mcp/in security plugins / WAF if needed - Only then connect production with a tightly scoped user
Step 10 — Troubleshooting
- No tools listed: adapter inactive, wrong server ID, or abilities not public
- 401 Unauthorized: wrong username/application password, or HTTP vs HTTPS mismatch
- 403 Forbidden: capability failed, or security plugin blocking MCP routes
- Works in WP-CLI but not in Claude: client config path/user is wrong, or client needs restart
- Unexpected writes: AI user is too powerful — reduce role and remove write abilities
Quick recap checklist
- WordPress 6.9+ ready
- MCP Adapter installed and active
- Dedicated low-privilege AI user created
- STDIO or HTTP transport configured
- Client restarted and tools visible
- Read-only ability tested end to end
- Security hardening applied before production
Conclusion
WordPress + MCP + Claude is a structured developer workflow, not a shortcut around security. Follow the steps above: install the adapter, connect through STDIO or HTTP, start with read-only abilities, and keep WordPress capabilities as the gate. Done this way, AI helps you build themes, plugins, and fixes faster — while your site stays under your control.
Next reading: From Abilities to AI Agents (WordPress Developer Blog) · MCP Adapter on GitHub